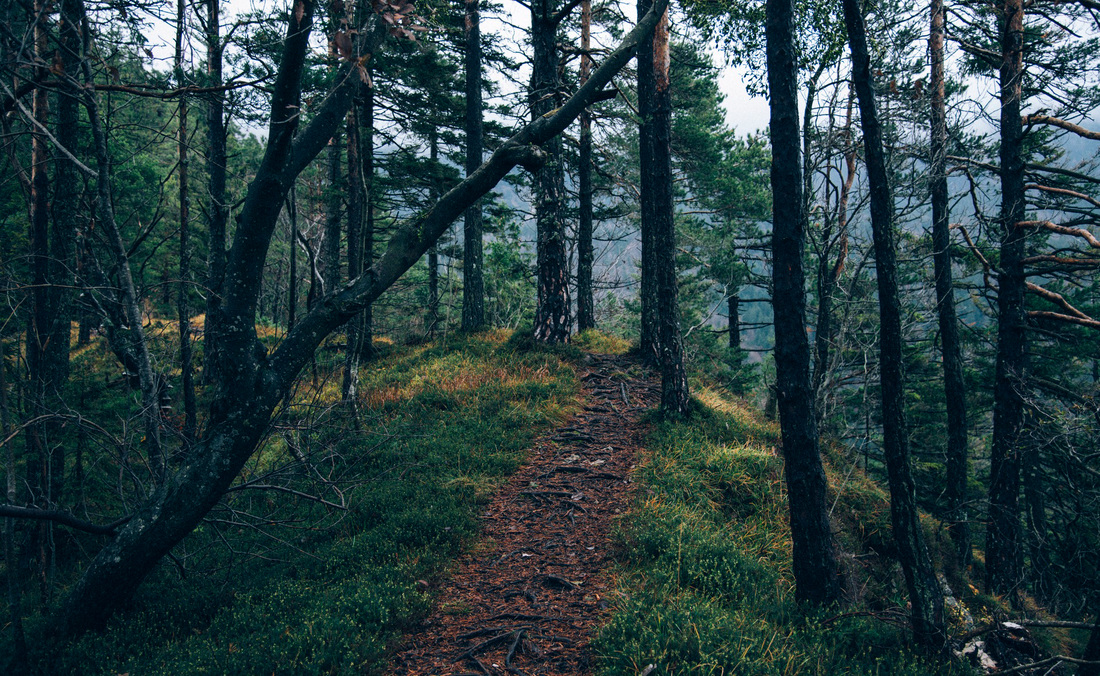
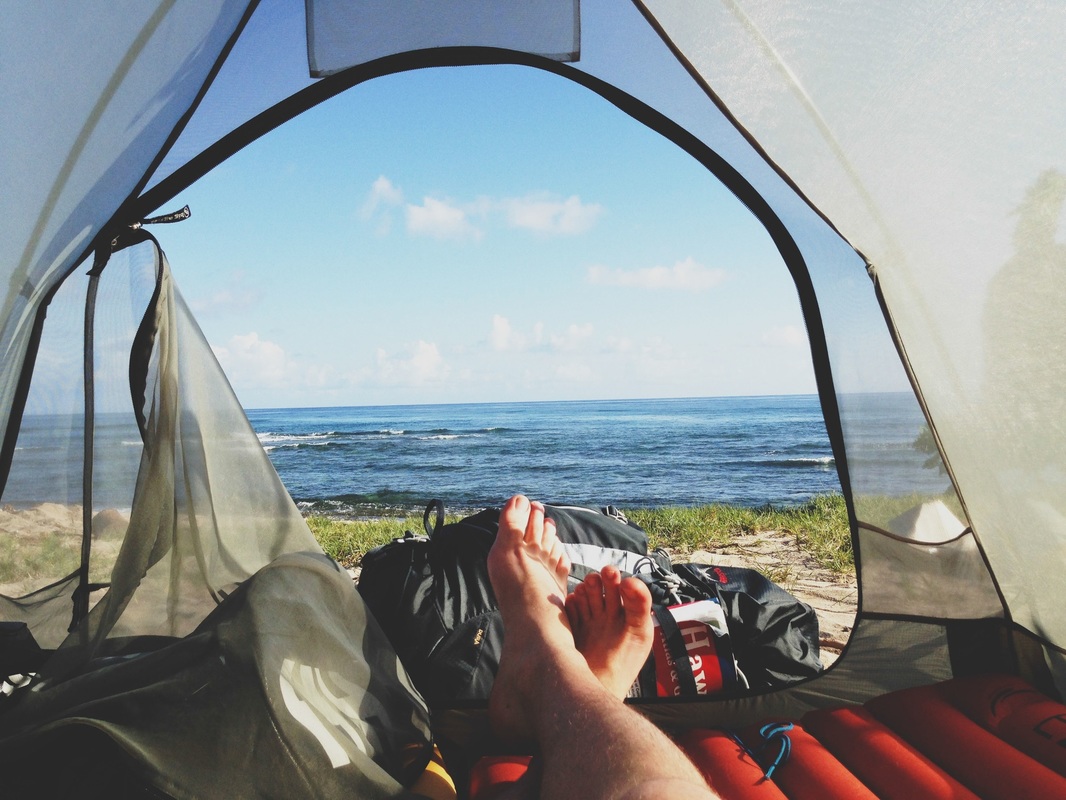
I'm James. This is my year of travel.

 
You may repeat this process with the other part of the sprite. I suggest you triple the sprites you made and give them white, yellow and orange outlines (and make sure to white out the eyes in the heads!) so people don't come complaining that your sprite doesnt work in Zone 5. This is because the sprites change to these when on the electric wire tile normally present in Zone 5. Like I said before, the AMPLIFIED spritesheet actually triples all the sprites but with different colored outlines. Now that your sprites are in the app, you are free to edit them! However, I suggest you review the first four sprites, as they are basically the entire movement of the character. ( Remember, both heads and armor_body spritesheets need to be 24x24, otherwise the sprites wont be aligned!)Ĭongrats! You have imported the spritesheet into piskel. (If instead of an import button you get a "next" button, click on it and then press Replace). Click on "Import as spritesheet", set the frame size to 24x24 and click import. Now find player1_/char#_(either head or body) file and import it. Welcome to the editor, if you look at your right you will see five icons, click on the folder and then Browse images, right under Import from Picture. The size of the armor_body spritesheets are too big for the webpage to save online (or maybe thats something with the CotN AMPLIFIED spritesheet, for every torso and armor has three duplicates with a different colored outline). Making an account is optional, and not really recommended. You want to open your web browser (you most likely have Chrome) and go to Again, you wont be installling anything, for in Piskel you can just make pixelart online through the browser. Now that you have a copy of the sprites to use, we should head on the fun part of the process. Now copy and paste the sprites you want to edit to a new folder located preferably in the desktop for easy access. Each number corresponds to a different character, but player1 (Cadence) and char9 (Bard) are common bases to be used. You'll be confused at first looking at all these sprites, but you'll come to understand real quick that the sprites you are looking for are (player1_ / char#_)armor_body and (player1_ / char#_)heads. Just know, not everything for a character applies to other sprites. Im going to change the sprite of a character as an example, since thats what I believe you are here for, but you can use this guide for changing the sprites of pretty much anything in the game (this file list might be useful for Total Conversion Mods).
0 Comments
Leave a Reply. |
AuthorWrite something about yourself. No need to be fancy, just an overview. ArchivesCategories |

 RSS Feed
